How to paint a fence like a professional
Fence painting can easily transform your property! Not only does it protect your fencing, but it’s also a budget friendly way to revive your yard - and let’s be honest, in times like today, penny pinching is all the rage. But just because it can be a low-cost option to upgrading your surroundings, you still want to ensure you get a pro outcome which is why, as specialists, we’ve compiled the most important aspects when it comes to how to paint a fence.
Whether you’re painting an old wooden fence with a roller, or you have a Colorbond fence you’re going to spray, knowing how to paint your own fence is one of the easiest DIY projects. At Crockers, we have the best Australian made paints, a wide range of painting tools and 65 years of knowledge.
Here are our top painting tips on how to paint a fence.
WHAT IS THE BEST TIME TO PAINT A FENCE?
Before you paint your fence it’s important to make sure the weather conditions are right. As you may have guessed, spring and summer seasons are best for painting fences, but a fine autumn day will work too. Ideally you want to choose a warm, dry day with a temperature around 20oC where the humidity is low or moderate, this will allow your paint to dry quickly and evenly. Don’t paint your fence at a temperature of 30oC or above as the excess heat and UV can cause your paint to dry too quickly resulting in it flaking off your fence.
Muz’s hot tip: We recommend checking the forecast at least a day or two in advance.
WHAT TOOLS & EQUIPMENT WILL I NEED?
At Crockers, we have everything you need to paint your fence like a professional. You can come in and chat to our friendly team or buy your equipment online. We’ve created this handy checklist:
- Exterior primer
- Exterior paint
- Plastic drop sheets or old bed sheets
- Sandpaper if needed
- Warm water and rag or a high-pressure cleaner
- Detergent or Marathon cleaner
- Sponge and a dry brush
- Plant garden ties (if needed)
· Paint rollers, paint brushes and a tray OR a paint spray gun
Safety equipment:
- Safety goggles
- Mask
- Ladder (depending on fence size)
WHAT PAINTS & PRIMERS TO USE FOR DIFFERENT TYPES OF FENCES?
While you’re shopping for equipment, you’ll also need to buy the right exterior primer and paint products for your fence. There are many types of fences, so we’ve listed the best products for each surface:
Colorbond fences
Colorbond steel is a durable fence for our harsh Australian climate, but it can be susceptible to wear and tear if you live near the coast or haven’t kept up with fence maintenance. Over time, Colorbond can start to look worn and will benefit from a fresh coat of paint. If your fence has become weathered, we recommend a less sheen product like Krysler Weathertuff.
You may also choose to repaint your fence for aesthetic reasons too and to update your colour scheme, in this case we recommend using Wonderbond sealer as a first coat followed by Haymes Premium Solashield exterior paint. You can view our range of Colourbond paint colours here.
Timber fences
Depending on the wood type and condition, you’re going to need to apply a few generous coats of paint to your timber fence leaving a couple of hours for the paint to dry in between coats. If you are painting bare timber or your fence has previously been painted but is in good condition with no high gloss, you can use Krysler Weathertuff or Haymes Premium Solashield.
If your fence has a gloss paint already on it such as old enamel, it’s been stained, or it has a clear varnish, you’ll need to do a hard sand back or use an undercoat with a good adhesion, we recommend Norglass or Haymes Ultracover. This will stop the oil or varnish from bleeding through. Lastly, we recommend Krysler Weathertuff or Haymes Premium Solashield for your top coats.
Brick, concrete, or masonry fences
When it comes to how to paint a fence that is brick, concrete, or masonry, it’s very important to use a masonry paint. These are designed to provide extra protection from cracking, peeling and blistering. They are also mildew resistant, which provides a coating to prevent mould and surface stains.
If your current brick, concrete or masonry fence has any flaking, mould, or blistering paint, remove it first with a high-pressure hose. If you suspect a moisture problem, chat to our team first as you may need to use a primer like WB Epoxy Primer.
If your current brick fence is in good condition, you can clean it and allow it to dry then apply one of our premium exterior paints listed above.
Other types of metal fences
For steel, galvanised iron, or wrought iron fences, these may need a rust treatment and primer first like Norglass All Surface Primer followed by a thinner based top coat like Norglass Weatherfast gloss or satin. New galvanised iron will need an all-in-one metal finish like Hammerite, this is suited for direct application to metal.

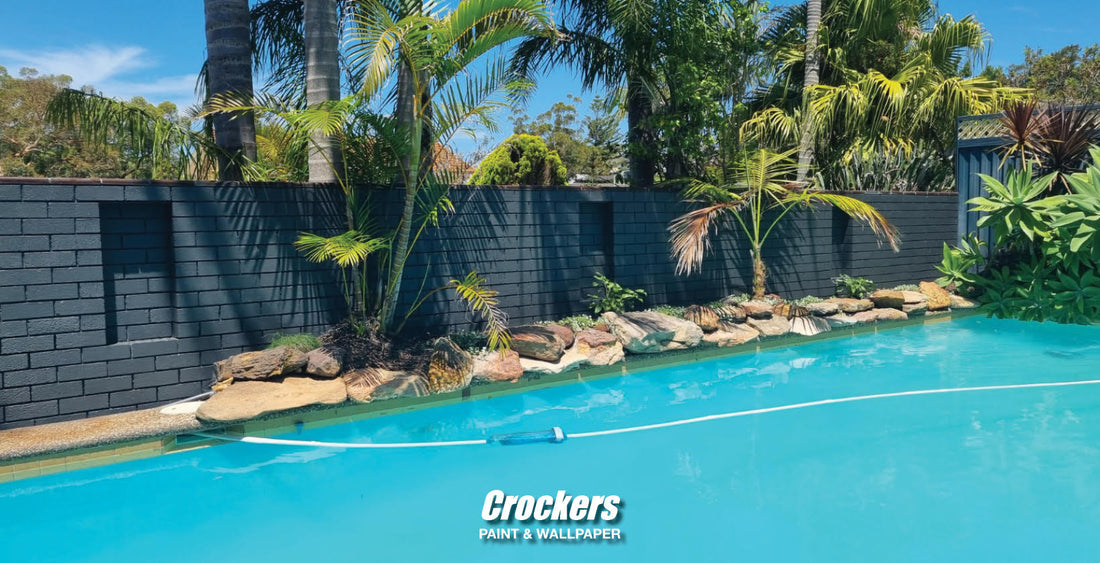
Colorbond Fence Painted in Colorbond Monument
HOW TO PAINT A FENCE AND PREPARE YOUR AREA
You’ve picked the perfect day to paint your fence but before you crack open your tins of primer and paint, it’s important to properly prepare your area and prime the surface area of your fence.
Inspect your fence
If you’re painting a wooden fence, check that it’s free of water damage and termite infestation. If it has old nails or screws, carefully take these out. If your fence has splints in the wood or is an uneven surface, sand it down prior to cleaning.
Clean your fence
It’s essential to have a clean surface so you’ll need to wash your fence to remove any surface dirt and debris, cobwebs or flaking paint. We recommend a pressure washer but if you don’t have one of these, you can use a cloth and water to vigorously wipe down your fence. Depending on the fence type, a combination of water and bleach soluble can be used to remove mildew and mould from the surface area. The cleaner your fence, the higher quality your paint job will be. Your fence can take up to a day to fully dry out and you must only prime and paint your fence when the surface is completely dry.
Prepare the area
You’ll want to prepare your surrounding areas by moving plants or outdoor furniture away from your fence and trimming back any grass, weeds, shrubs or trees. You can also pin them back carefully with stakes. Place drop sheets or old fabric sheets down on the areas under your fence to avoid paint drips on the ground or on your patio. If there are parts of your fence you don’t want to paint, be sure to cover these with painter’s tape.
PRIMING YOUR FENCE
Using a primer is highly recommended as an undercoat before painting your fence. While it can be tempting to skip this step, it will prevent mould growth, it makes the bond between the fence and the paint stronger, and it’ll ensure a professional long-lasting finish. You can use a paint brush, roller, or sprayer to apply your primer. Avoid laying on your primer too thick as it will drip or run, a couple of thin layers is best. Let your primer dry completely before applying your paint.

Painted in an Exterior Low Sheen paint like Krysler Weathertuff
KEY TIPS FOR HOW TO PAINT A FENCEAs you can see, when it comes to how to paint a fence, most of the work is in the prep such as selecting the right product and getting your painting environment just right.
Once those steps are done - using the paints listed above, and your choice of a brush, roller, or spray gun – it’s time to paint! Here are our top tips for how to paint your fence:
- Follow the instructions on the tin of your selected paint
- If your fence has panels, paint in the same direction as the panels
- If you’re using a roller and you have hard to reach spots, use a brush for these areas
- If using a spray gun, stand 20-30 cm away from the fence
- Paint from top to bottom ensuring your fence is evenly coated
- Check you haven’t missed any spots
- Use 2-3 coats of paint
HOW TO PAINT A FENCE MADE EASY
With a fresh coat of paint your fence will not only offer privacy, durability, and weather protection, but it will look stylish and appeal to potential renters and buyers. We hope our tips on how to paint a fence has you feeling confident to give your fence a brand-new look. You can visit us in store or shop online.
If you’re still unsure what type of paint will be best for your fence or you have any questions, we invite you to book in a free 15-minute Crocker’s consultation with our team where we can discuss your specific project and ensure you have the best paints and process to get the job done.